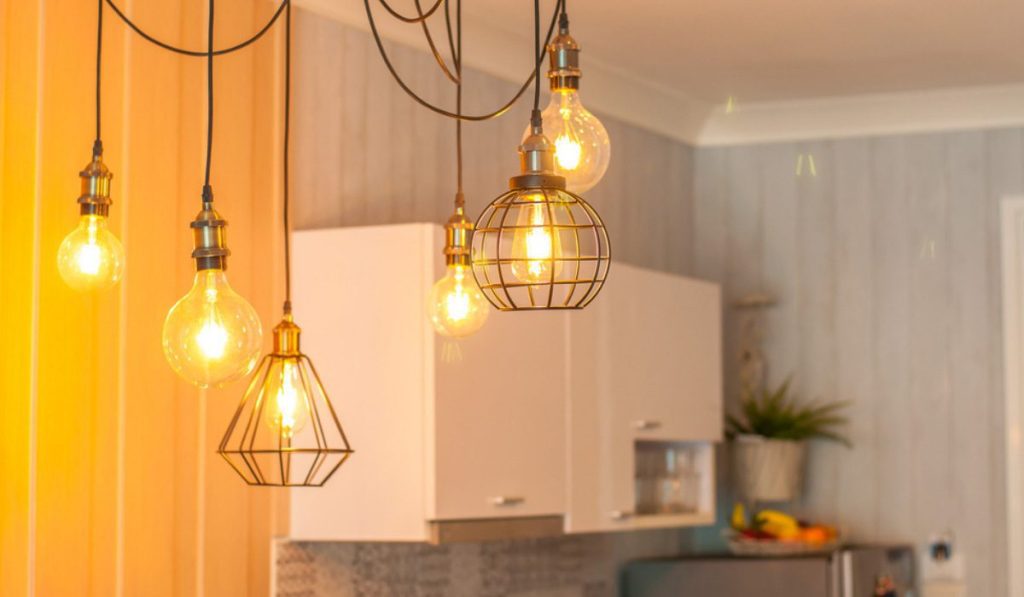
Pendant lights have become one of the most stylish ways to brighten up a space. Whether you want to illuminate your kitchen island, dining table, or a cozy reading nook, these versatile fixtures add charm and character. The good news? You don’t always need an electrician to get them installed. With a little preparation and the right tools, hanging pendant lights can be a simple, budget-friendly DIY project.
1. Choose the Right Spot
Before you start, think about where you want your pendant lights to go. Consider both aesthetics and function. Over a dining table, the lights should hang low enough to create ambiance but high enough to avoid blocking sightlines. In the kitchen, pendant lights above a counter or island should provide even illumination without being in the way.
Pro Tip: Mark the placement with painter’s tape on the ceiling to visualize the final look before drilling or mounting.
2. Pick a Plug-In Pendant Light for Easy Setup
The easiest way to skip electrical work is by choosing a plug-in pendant light. These lights don’t require hardwiring—they simply plug into a standard wall outlet. You can hang them from ceiling hooks, then drape the cord neatly along the ceiling and wall.
This option is especially great for renters, as it doesn’t involve permanent changes and can be removed without hassle.
3. Use Ceiling Hooks and Anchors
If your pendant lights are lightweight, adhesive hooks may work. For heavier fixtures, screw-in ceiling hooks with anchors are the way to go. Make sure the hook is strong enough to hold the weight of the light.
-
Step 1: Drill a small pilot hole in the ceiling.
-
Step 2: Insert an anchor for stability.
-
Step 3: Screw in the hook and hang your pendant light.
This method is straightforward and ensures your fixture stays secure.
4. Adjust the Cord Length
Most pendant lights come with adjustable cords or chains. After hanging, make sure the height works for your space. A general rule is:
-
28–34 inches above a dining table.
-
30–36 inches above a kitchen island.
-
At least 7 feet from the floor if used in open spaces.
Adjusting the cord not only improves appearance but also ensures safety and functionality.
5. Hide or Style the Cord
One challenge with DIY pendant light installation is dealing with the exposed cord. Luckily, there are creative fixes:
-
Use cord covers to conceal them for a clean look.
-
Wrap cords with rope or fabric for a decorative touch.
-
Let cords drape naturally for an industrial, casual vibe.
This small detail can make your DIY setup look polished and intentional.
6. Test and Enjoy
Once your pendant lights are in place, plug them in, test the brightness, and make adjustments if necessary. Sometimes, small changes in height or angle make a big difference in how the light spreads across your room.
Final Thoughts
Hanging pendant lights without professional help is entirely possible with a bit of creativity and patience. Whether you go for plug-in options or secure your own ceiling hooks, you’ll save money while adding a stylish glow to your space. With these easy methods, you can transform any room into a warm, inviting area—no electrician required.


